November Recap + Tiny Monster Process
In 2020 I set a goal to paint 100 tiny monster portraits. For whatever reason back then I chose traditional gouache as my medium. I’ve taken lots of breaks from this project over the years but it’s been hovering as something I’d like to cross off my to-do list one day. Partway through November I realized I had 40-something days left in the year and 30-something monsters left and set the big scary goal to finish the project by the end of the year. That deadline is looking much less likely at this point, but I still want to finish as many as humanly possible this year and get this project OUT OF MY BRAIN!!!
It’s been awhile since I painted with gouache, and one of the artists at the retreat in Spain mentioned Emma Block’s work and I decided to check out her book from the library. Going through someone else’s process step-by-step was really eye-opening. There are so many different ways to approach painting. I’d never even considered leaving a white gap between colors or allowing texture (gasp!) to remain in the finished work, let alone trying to achieve it. But I loved widening my lens of what’s possible.
I carried the pink/green color combo I learned from painting the cactuses into my moth below. I actually used the leftover paint from the cactus painting for the moth! The ability to reactivate gouache with water is really a plus and a minus, depending on the situation.
Moth Riding a Vespa Process
I start with rough pencil sketches. Sometimes I have a frame already picked out, so I work with that in mind too. I kept pushing some of the things I loved about the original sketch, but in the end none of them seemed like an improvement, though I do enjoy how deranged #3 got. I also just realized I left out the part where he hits a bump and the package flies out of the basket. Hmm… maybe I can add that back in to a future one?
Sometimes I also resize the sketch in photoshop and print it out so I can transfer it to the Bristol paper using my lightbox. Man, I am embarrassed to admit how long I went without one of these, thinking they were really expensive. But dang, this was only $20 and so easy to store. I love it. A window works great too though :)
After drawing in the moth I realized it was pretty boring without a background so I sketched one in right on the final and rescanned it for the color tests.
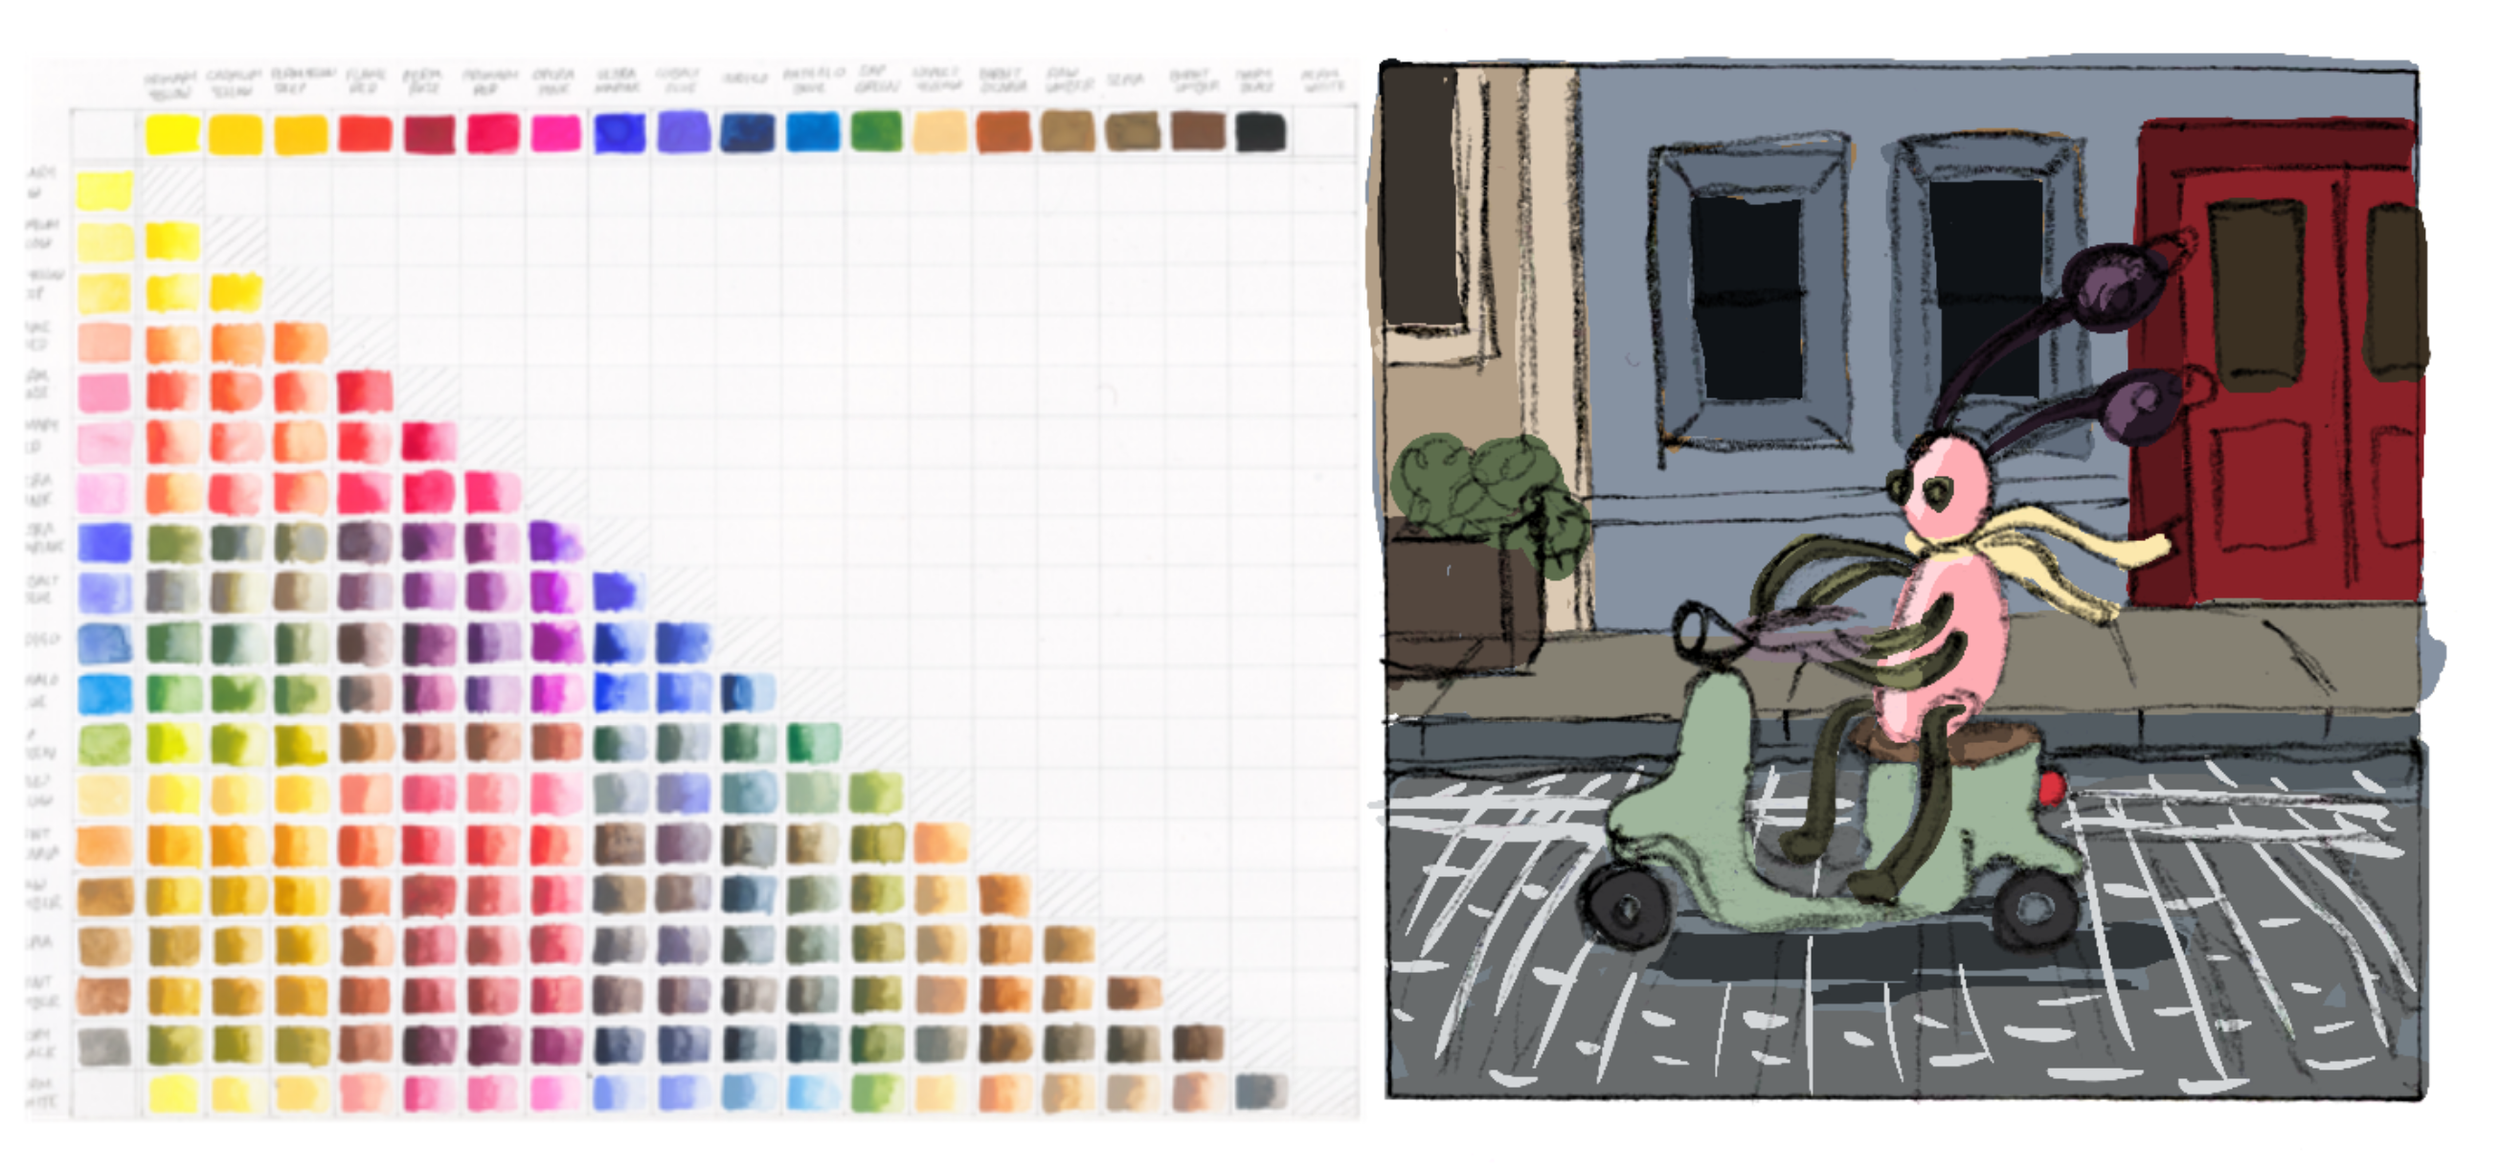
Procreate is great for color tests. I can isolate different objects and edit the hue/saturation quickly. I have a scan of my gouache color chart too, which is a great jumping off point for selecting colors. Going in to paint with a plan makes me feel less guilty for “wasting” paint and mixing a bunch of colors I won’t end up using. (But I also kinda wish this part of my brain didn’t exist sometimes? Oh well, what can you do.)
Once all those steps are done it’s just hours and hours of podcasts and painting and occasionally holding my breath during the really detailed parts so my hand doesn’t slip. And reminding myself that if it does, I can usually find a way to paint over it and fix the mistake. For me that might actually be the hardest part.
My back started to hurt a bit because I was hunching over my work to get really close to my desk. I wasn’t sure if I wanted to commit to a full angled drawing board yet, so I taped a dowel to my desk, taped a little paper “shelf” to a corrugated plastic board, and propped the whole thing up with a yoga block. It works great! I can get so close to them for all the really detailed work and it’s really adjustable. And when I’m done with the project all the materials can go back to their original homes. Because honestly, once I finish monster number 100 I am never painting another tiny monster ever again, hahaha.
DIY angled drawing board


